Sculpin Circle Tessellation Lesson
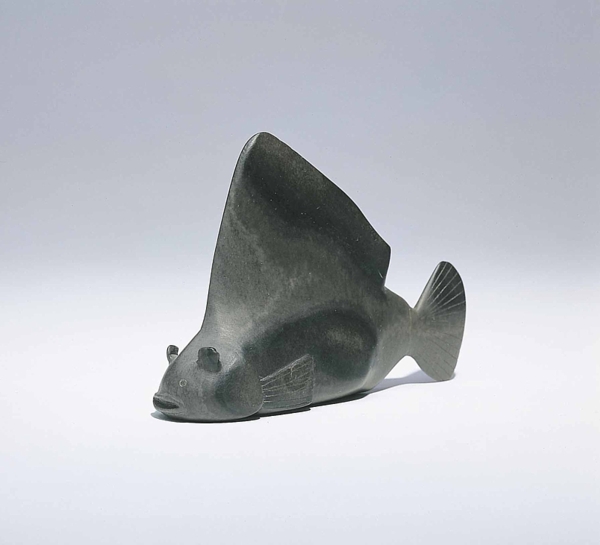
They are small fish that dwell on the bottom of shallow waters. Sculpins have a large fan shaped pectoral fin. A “cool” fact about sculpins that they can tolerate temperatures below freezing – as the water temperatures drop, they have the ability to synthesize special antifreeze proteins which helps them to survive in temperatures that are as low as -2 degrees Celcius!
In this lesson, you’ll create a tessellation inspired by Samwillie Iqaluq’s sculpture, Sculpin.
Materials:
- One 8 cm x 8 cm piece of paper
- 457 x 610 cm (18” x 24”) piece of paper
- Pencil
- Scissors
- Ruler
- Tape
- Colouring materials
Steps:
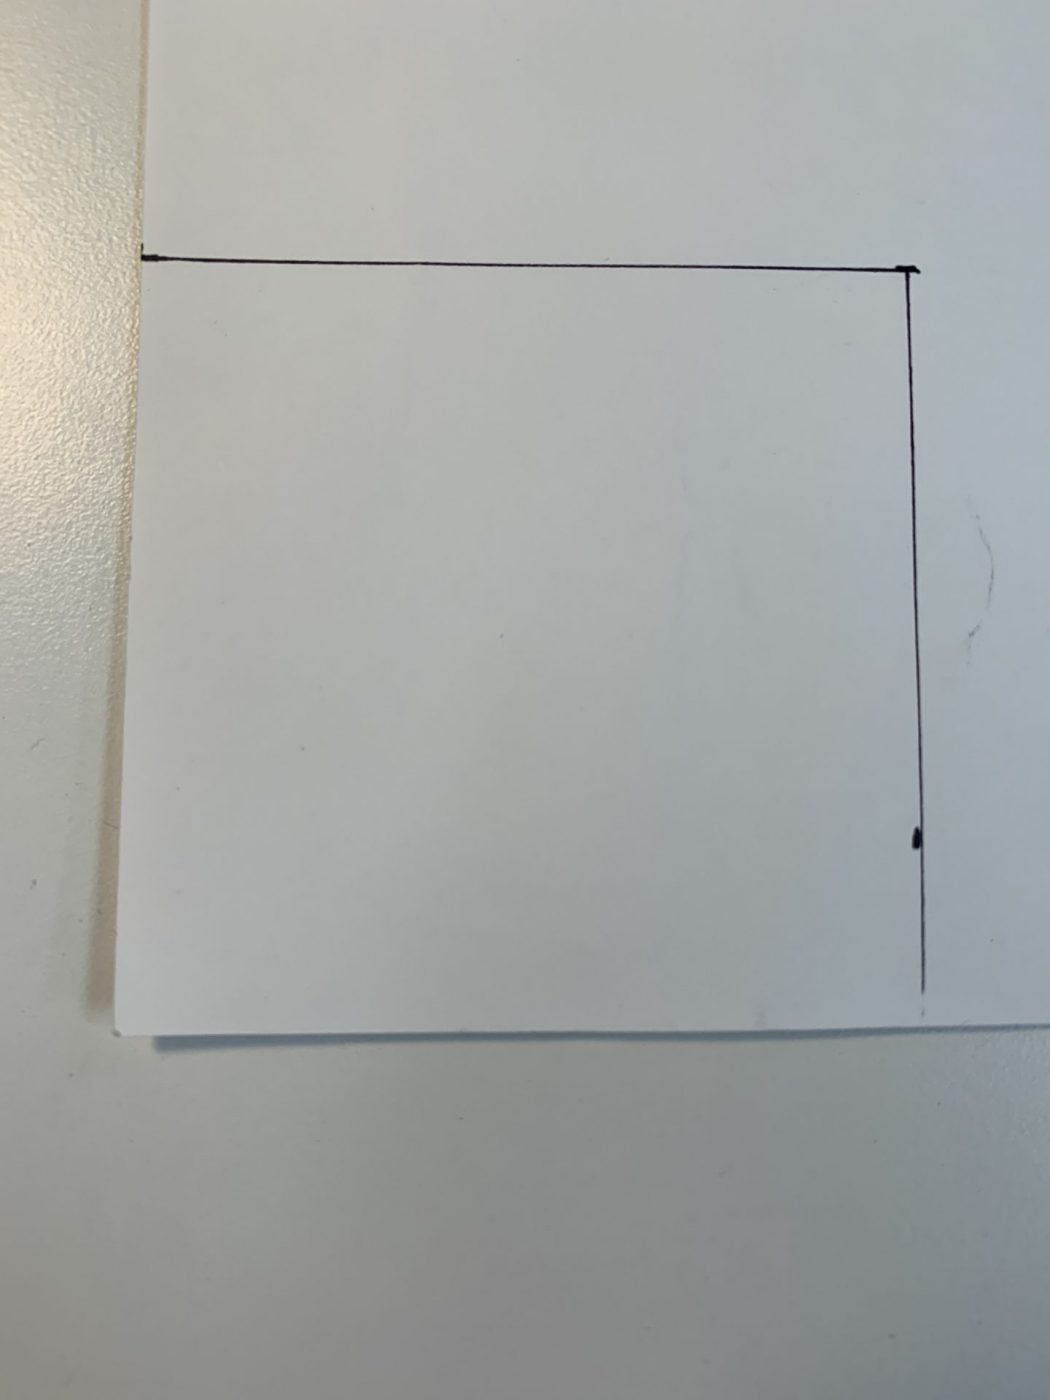
- Using a ruler, measure and cut out an 8 cm x 8 cm square piece of paper
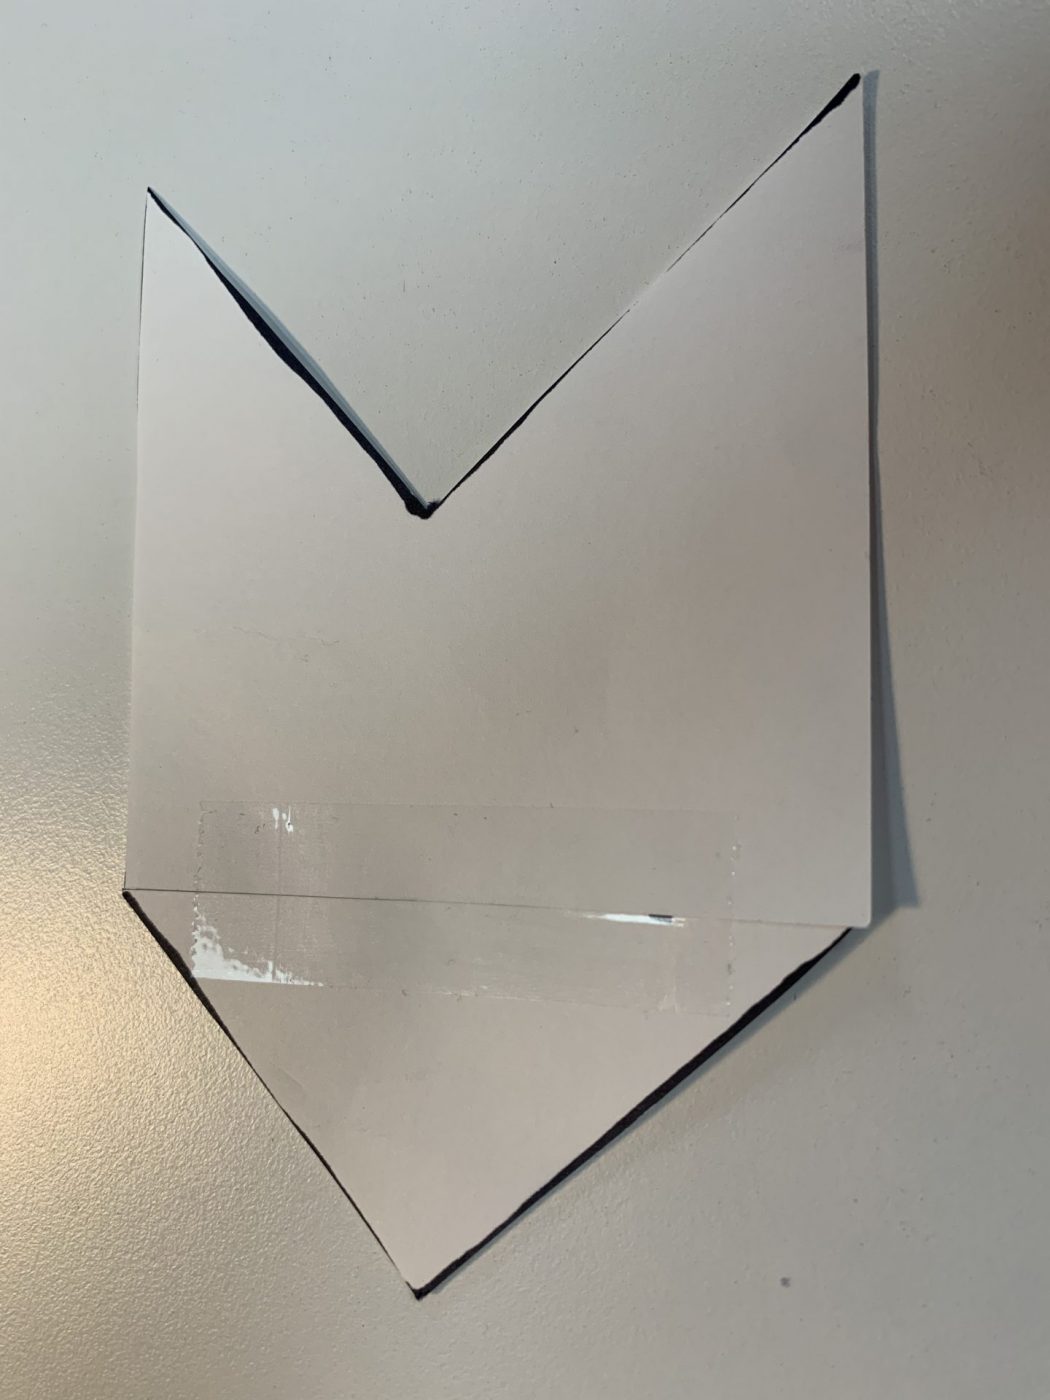
- Draw a line that begins on the top right corner of the paper and exits the bottom right corner of the paper (see example).
- Cut along the line in one cut to keep the shape of that is being cut out intact.
- Move the shape that you cut out to the opposite side of the paper, and tape the shape down.
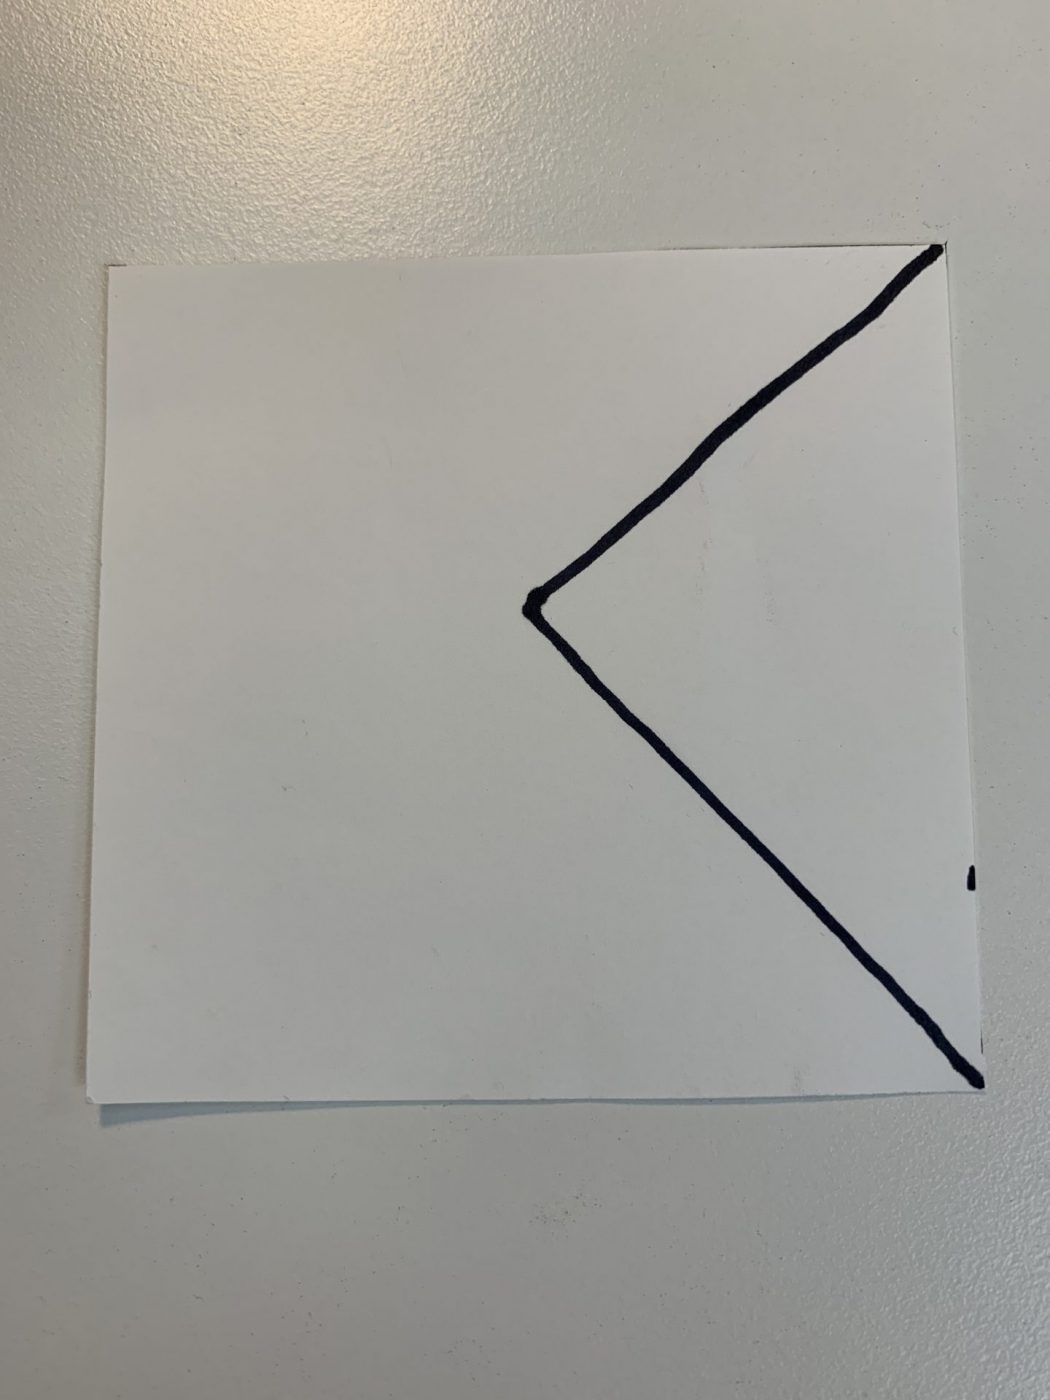
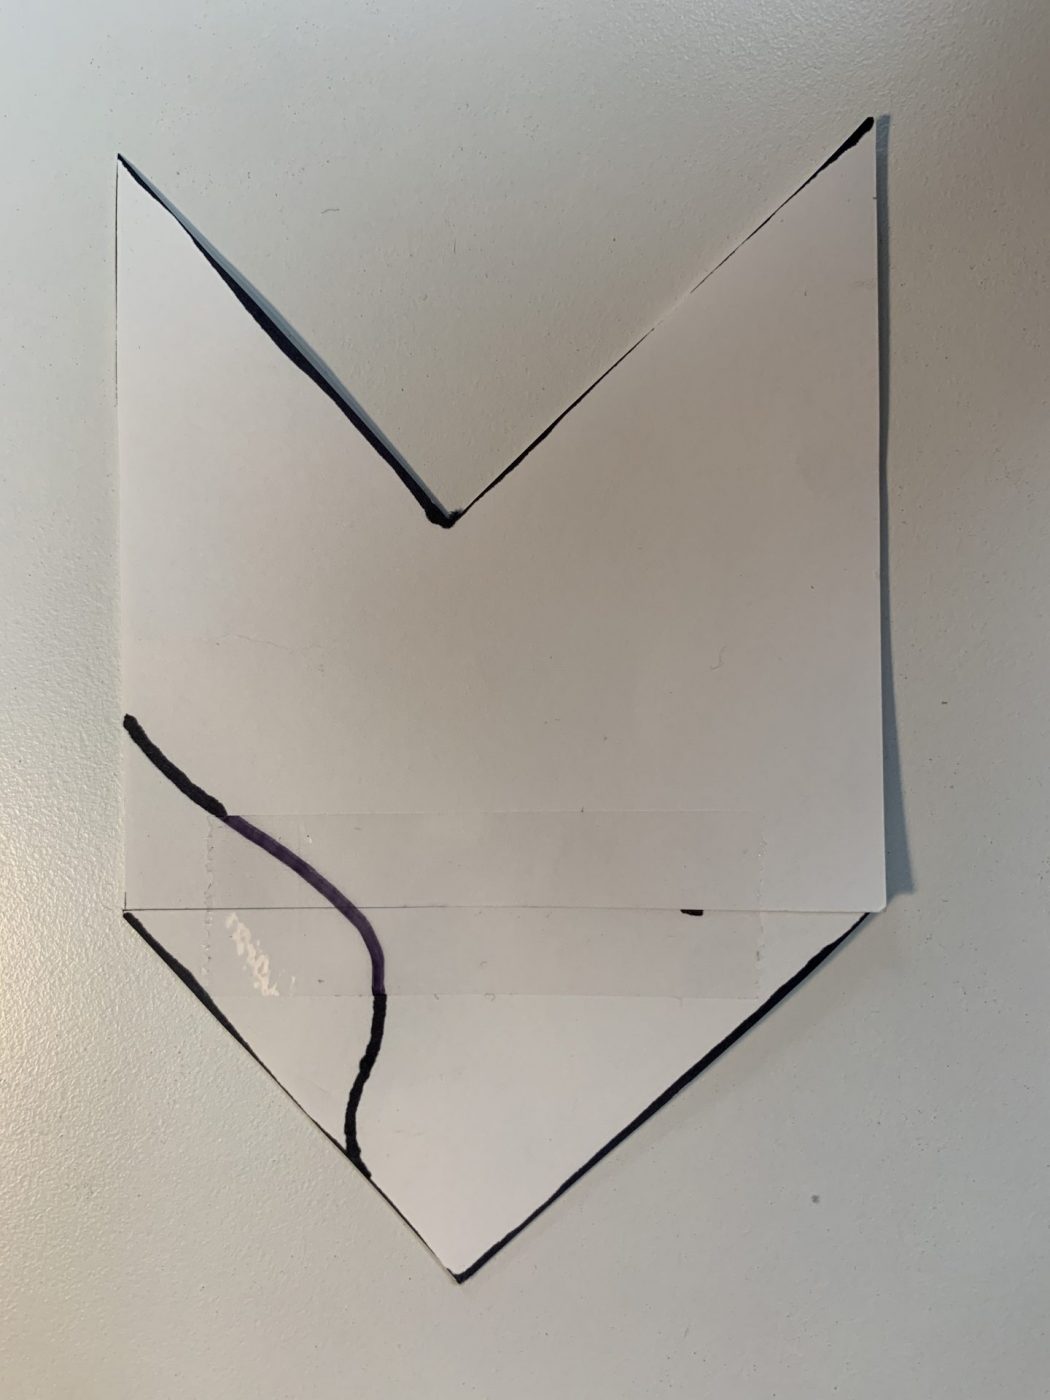
- Draw a line that begins at the furthest left point of the paper, and moves to the top right, off of the page (see example).
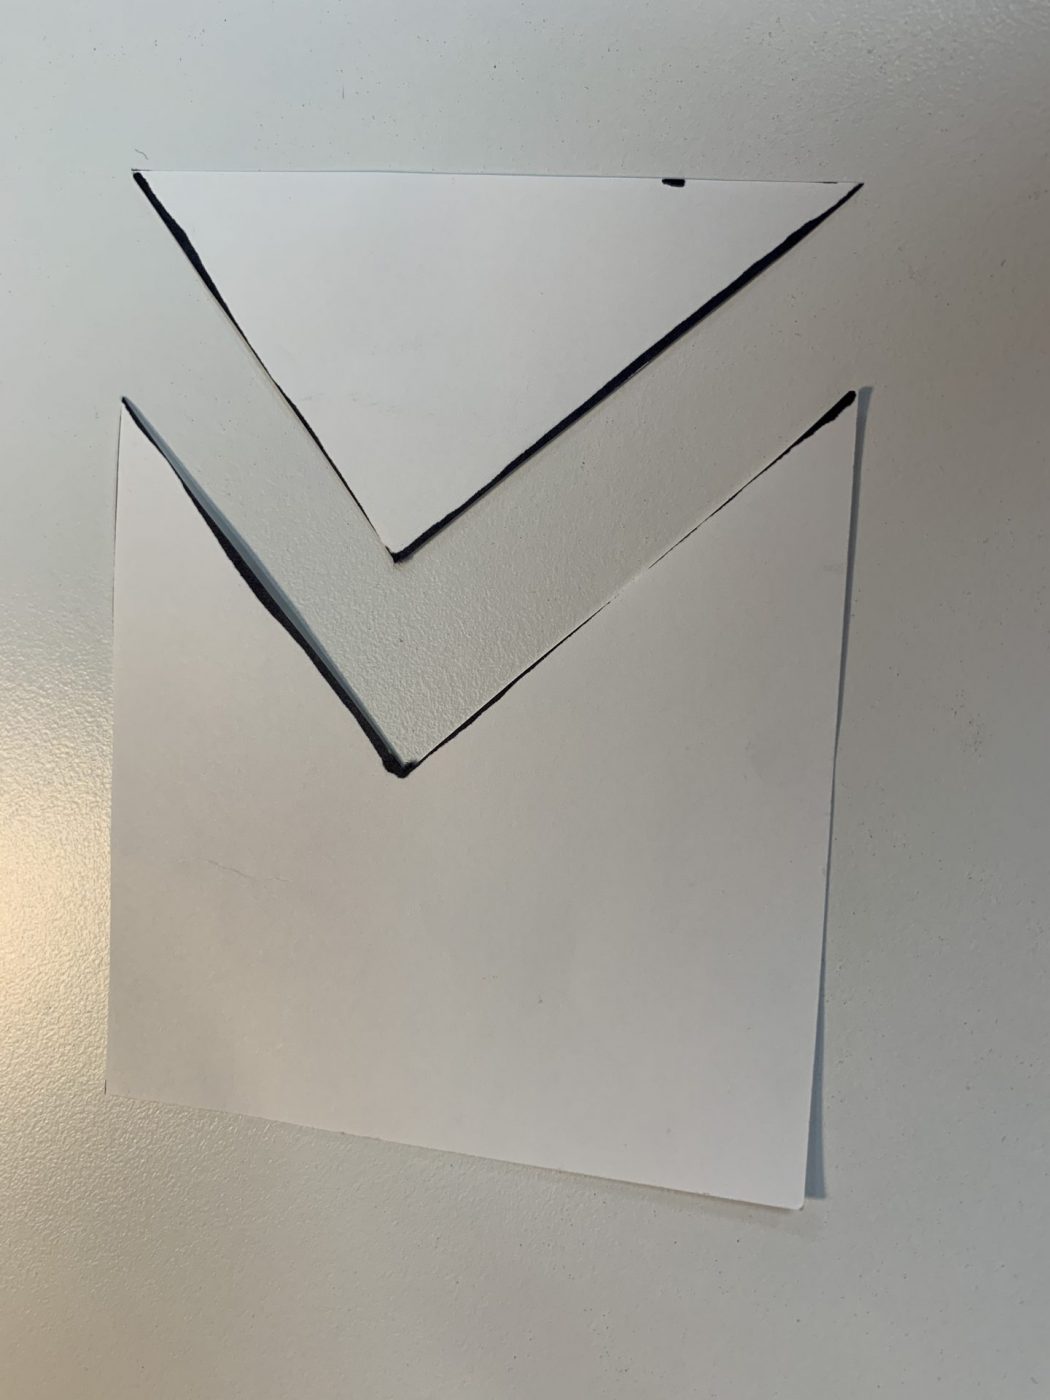
- Cut out along the line in one cut to keep the shape that is being cut out intact.
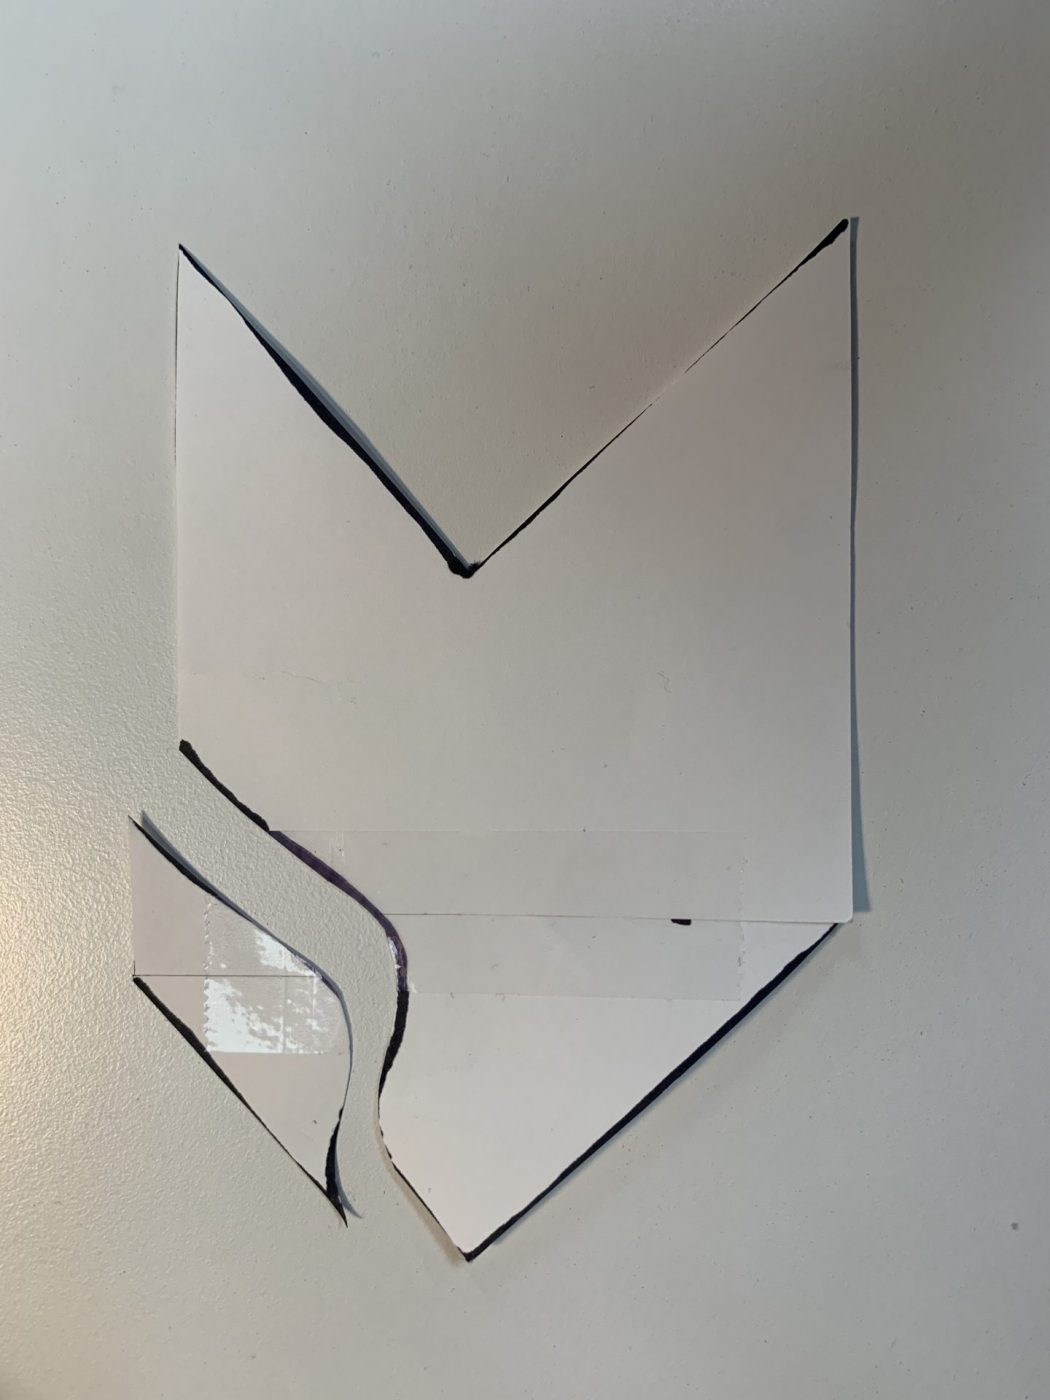
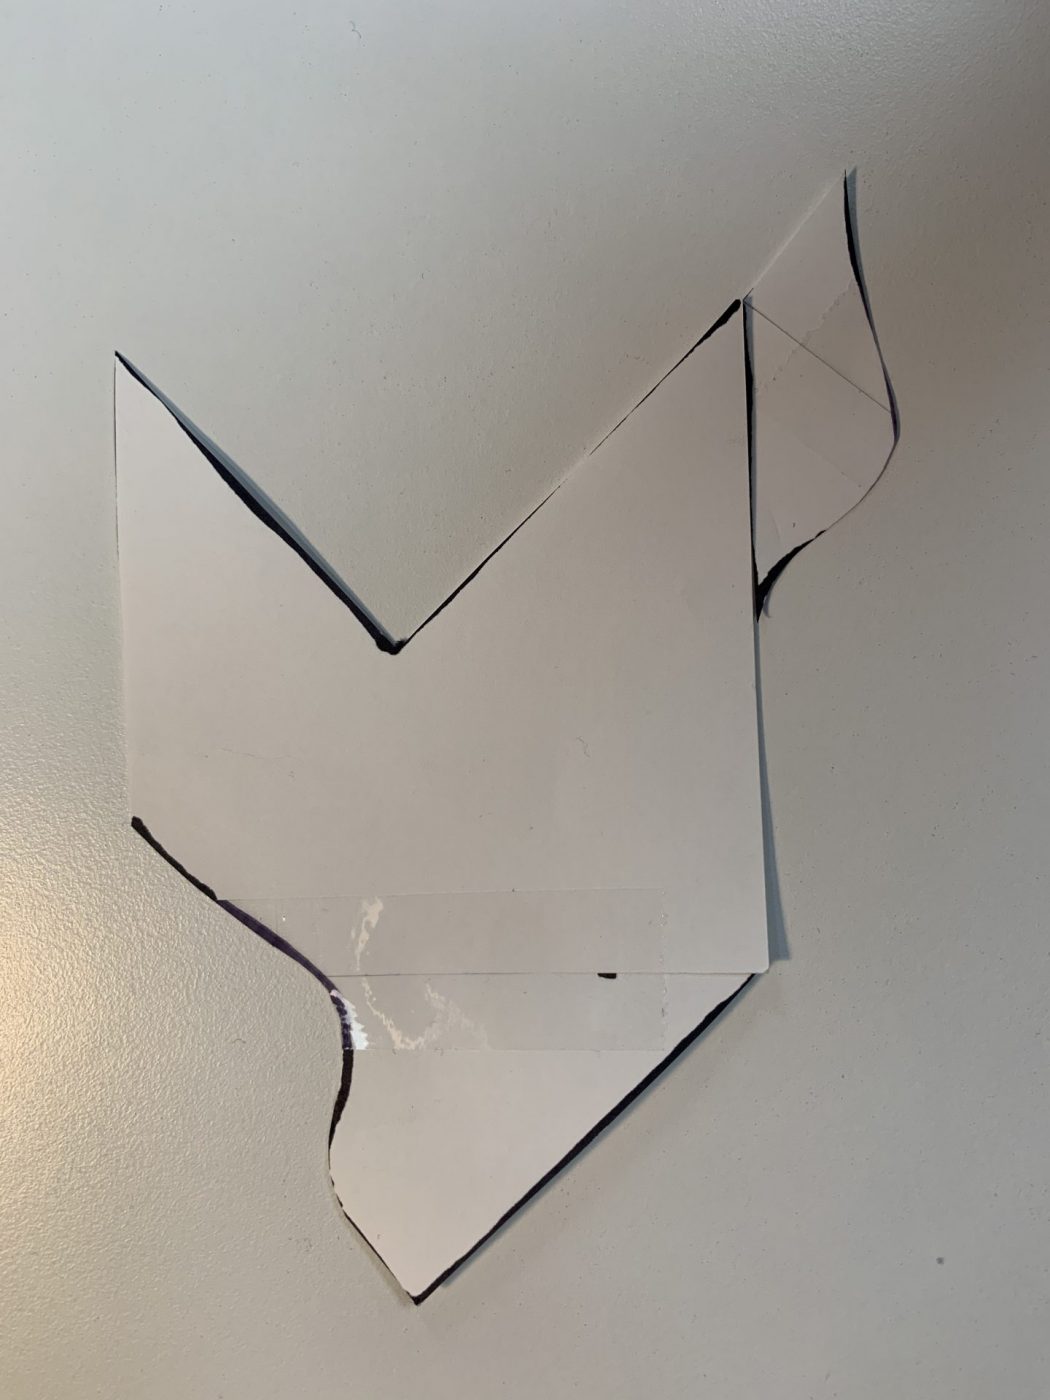
- Move the shape that was cut out to the bottom right hand side. The line that was the straight edge should line up with the bottom part of the paper. The angled edge of the part that was cut out should match the angle of the bottom pointed edge (see example).
- Tape the piece in place.
- You now have your sculpin template to create your tessellation with!
- On a large piece of paper, put your sculpin template at the top centre of the page.
- Trace out your template on the paper.
- Move your template to fit inside the lines that you drew on the paper (see example). There should be section of the line you drew out that perfectly fits part of your template, like pieces of a puzzle fitting together.
- Trace the template in this new position.
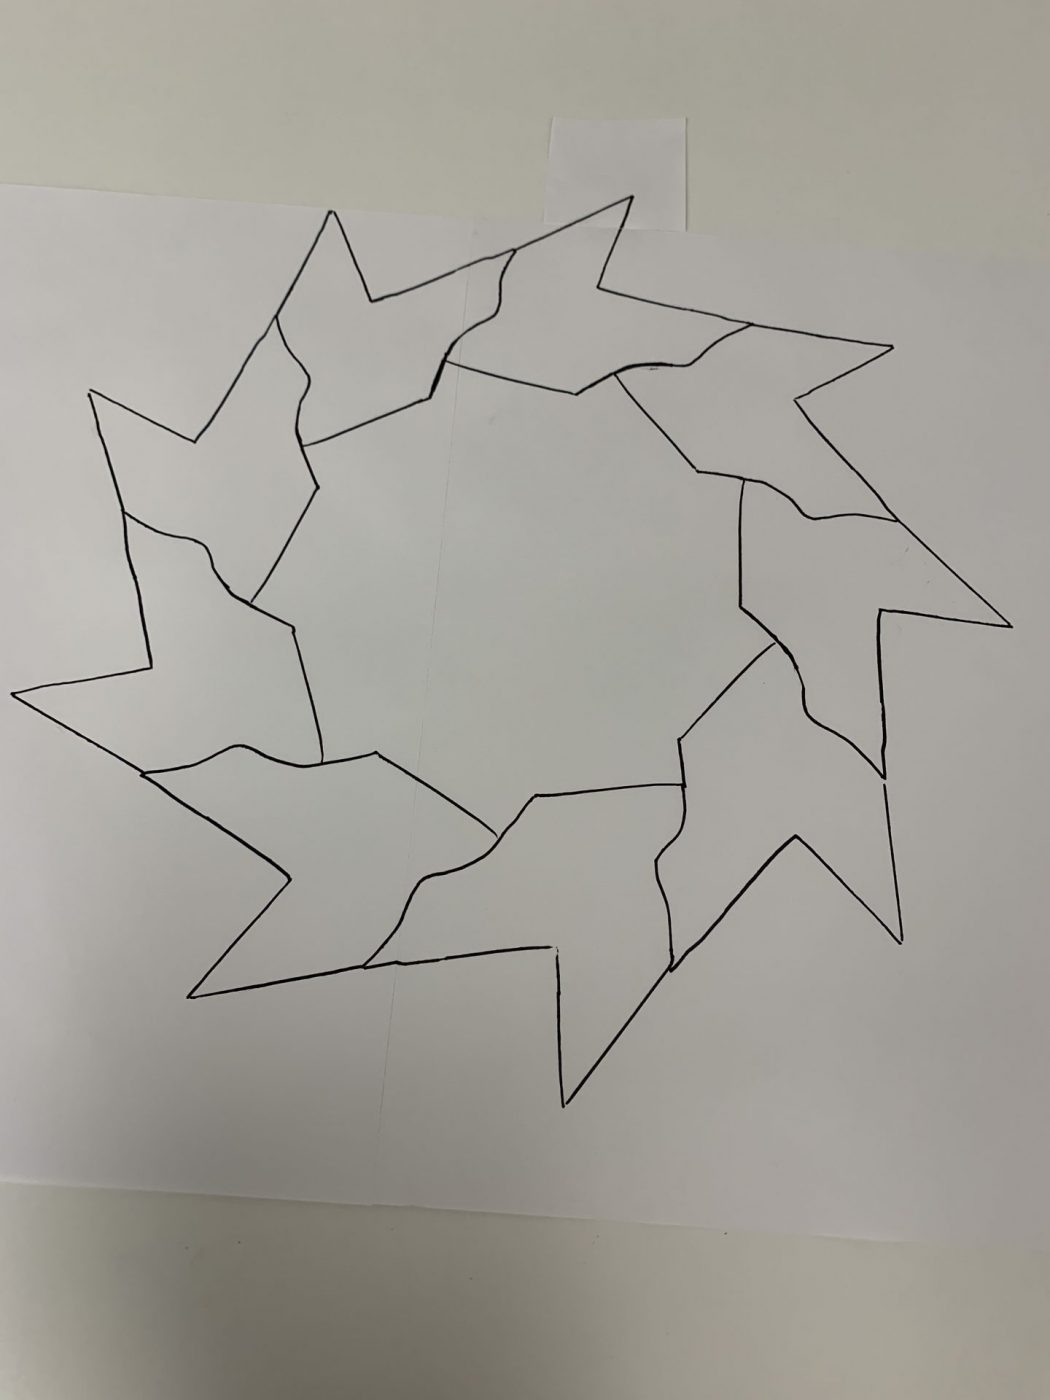
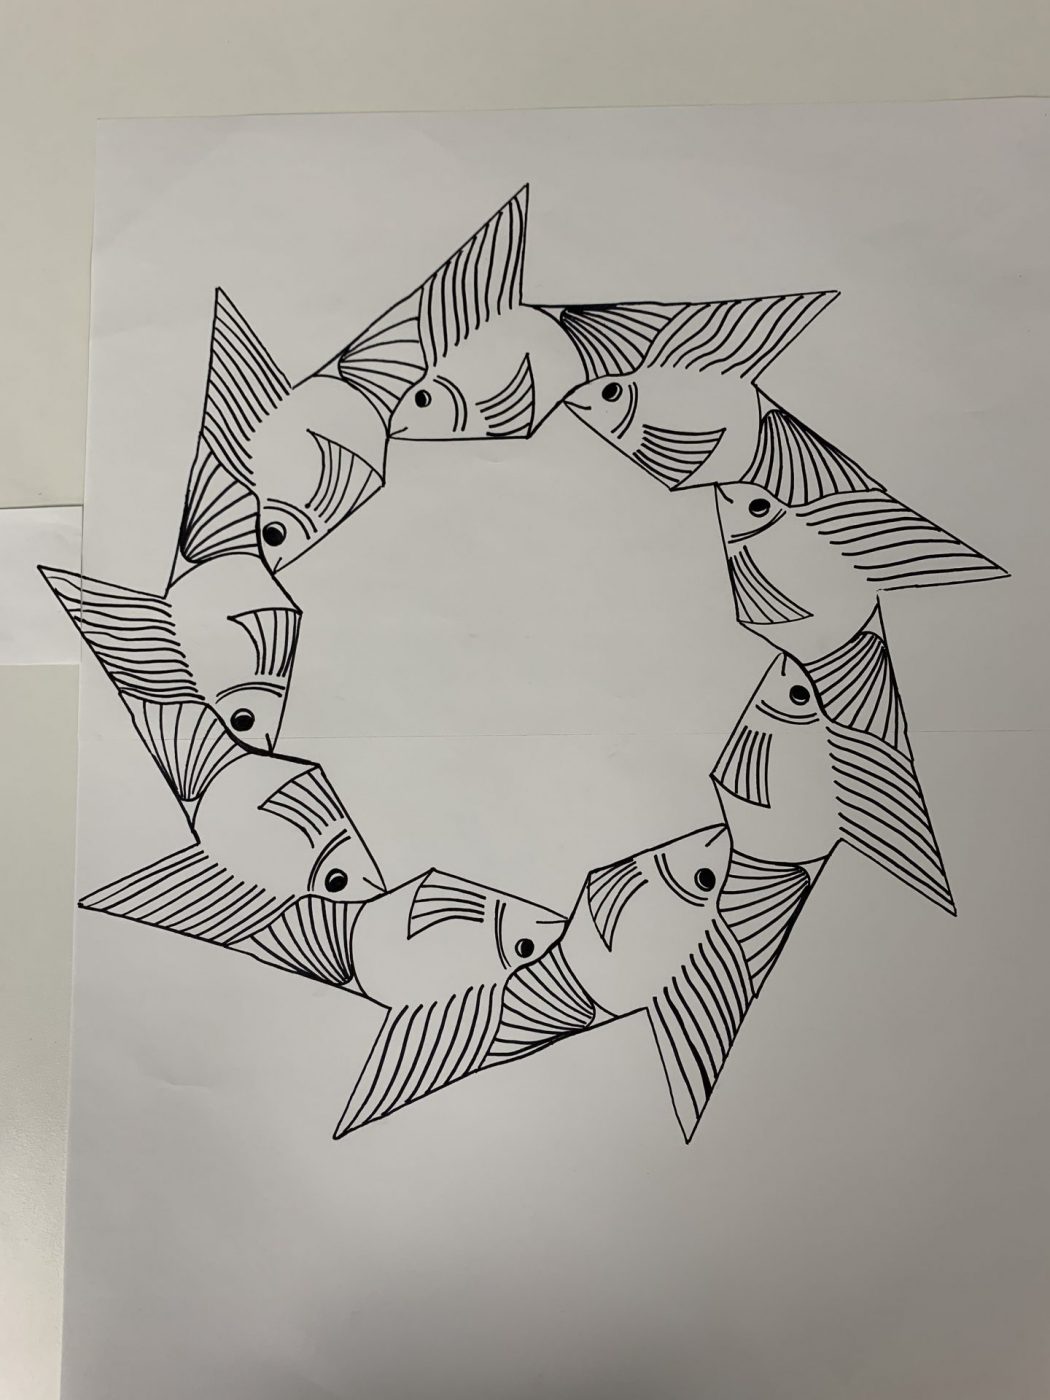
- Continue to move and trace the template, carefully fitting the template into the lines that were drawn from the template before. You will notice that with each sculpin that is drawn out, they begin to form a circular curve.
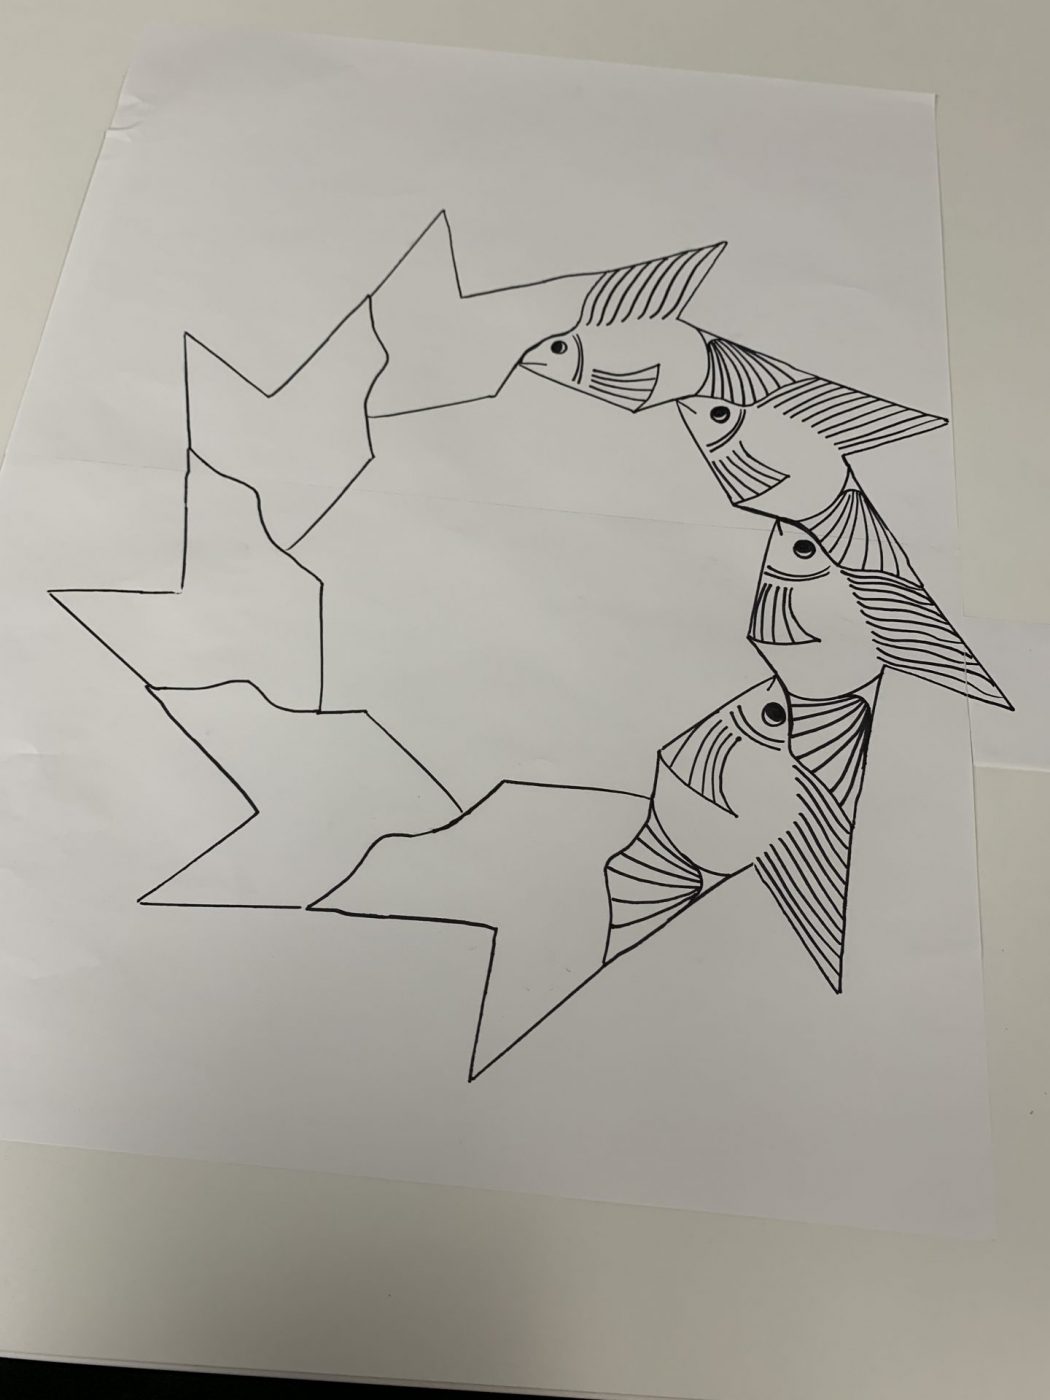
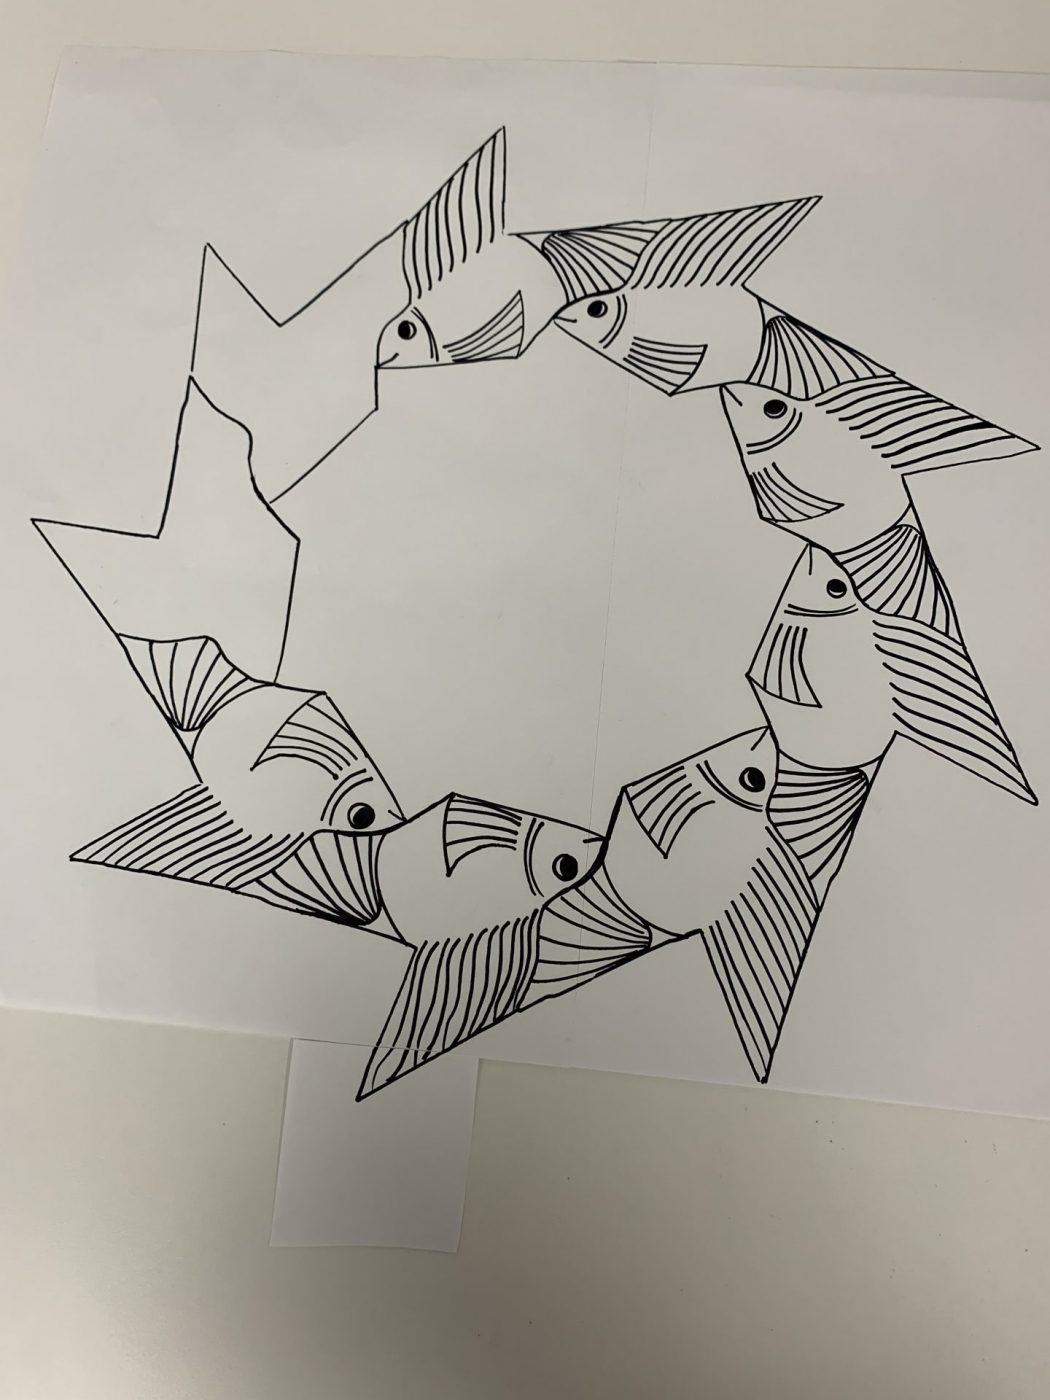
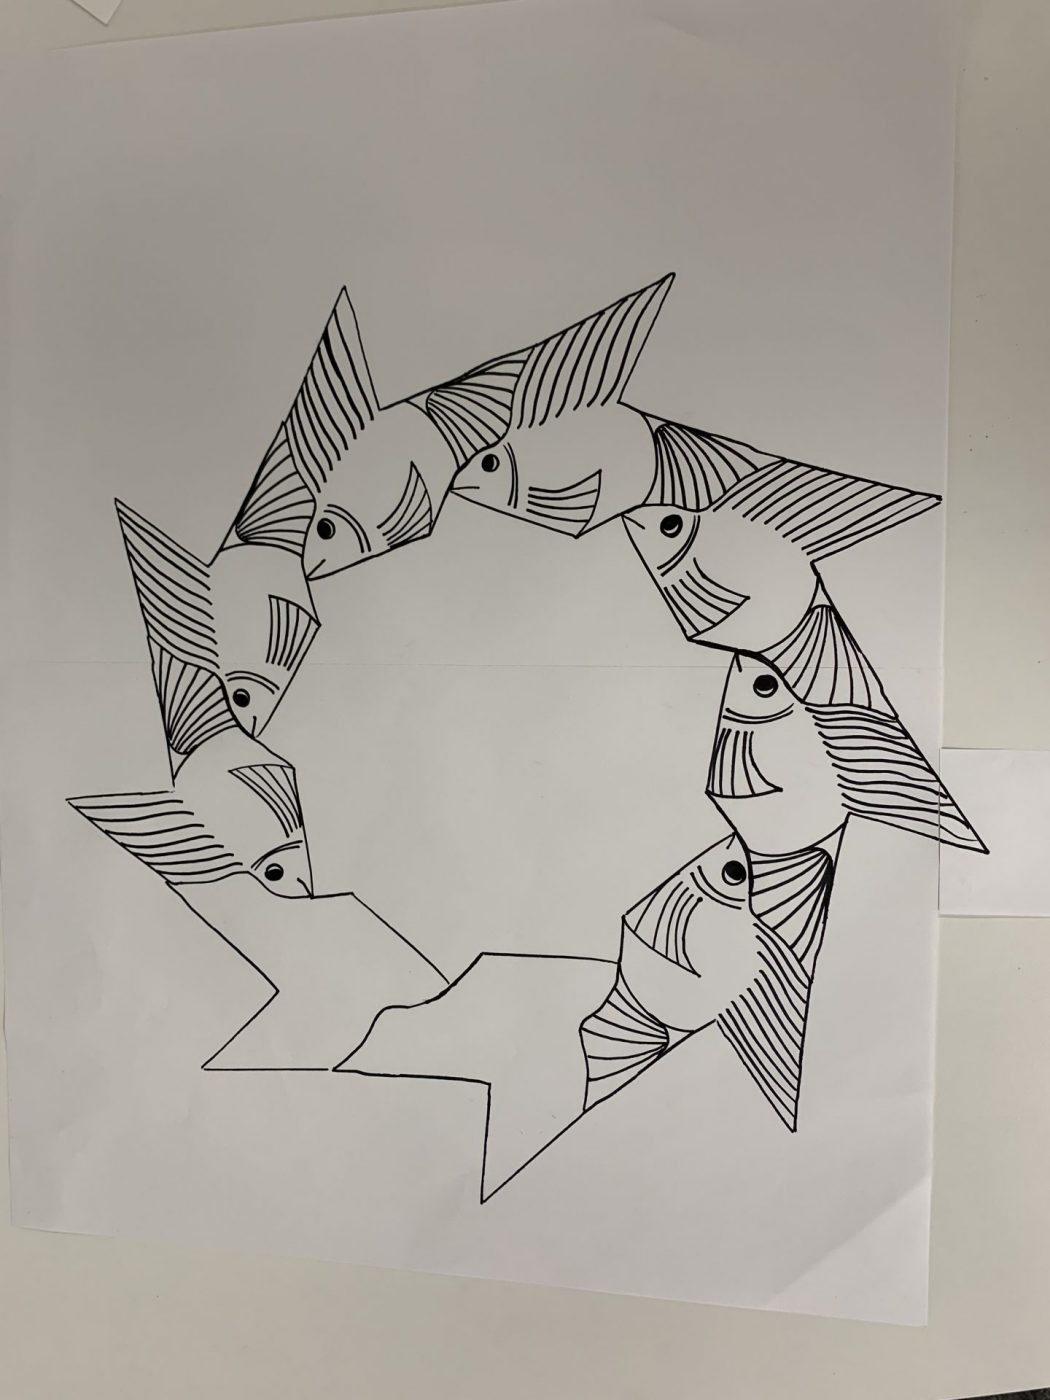
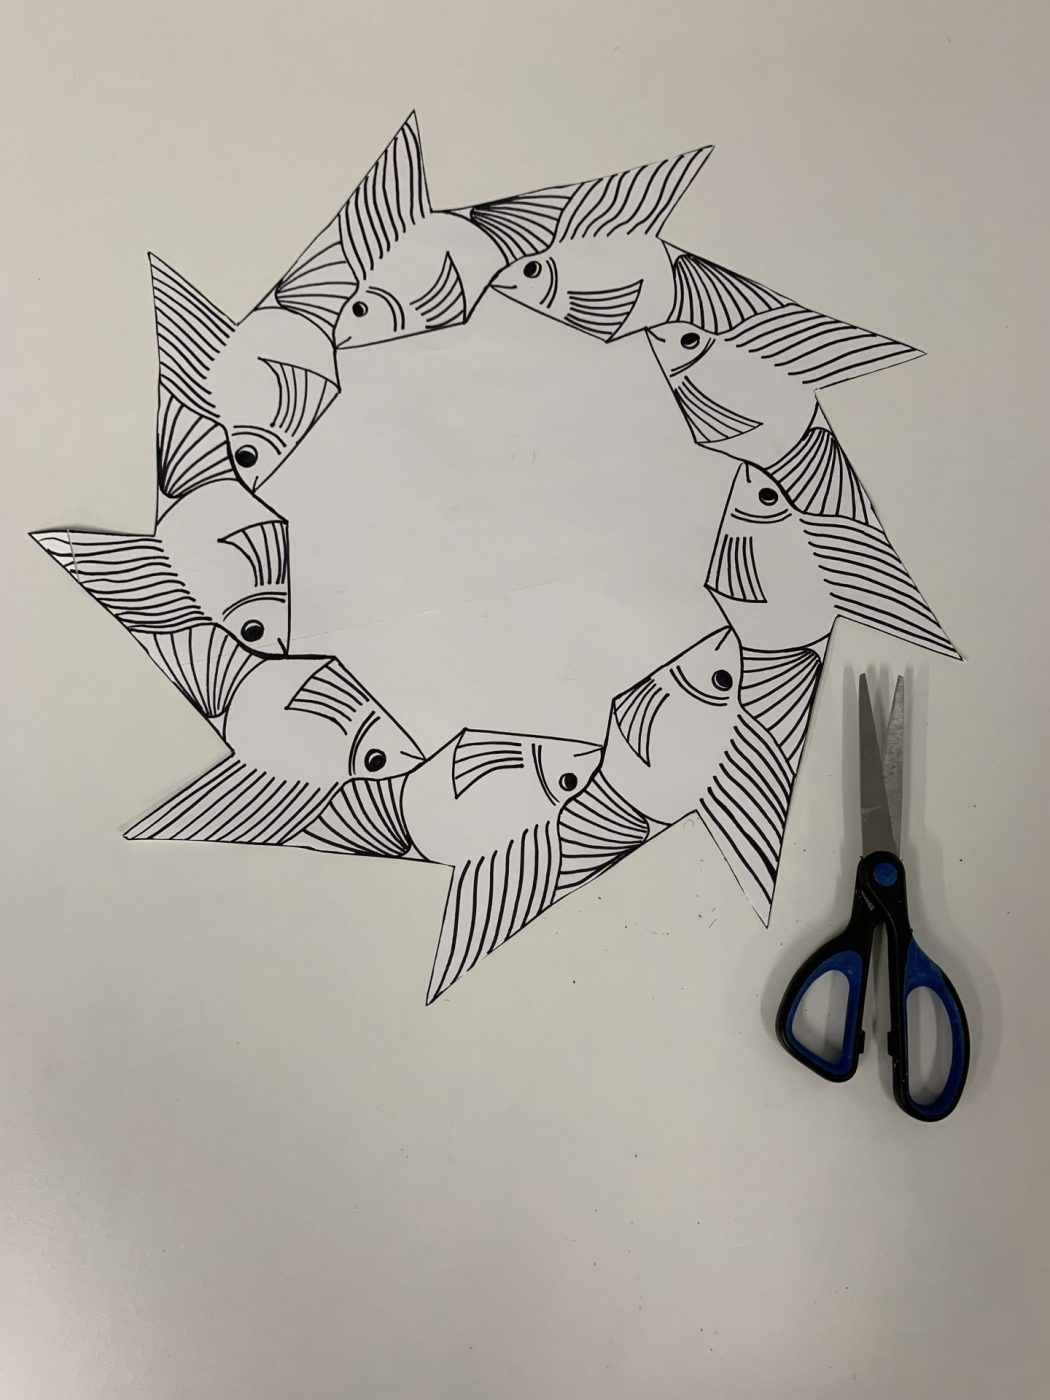
- Once you have drawn out all of the sculpins to create a circle, you can add details to each of the sculpins.
- Now you can colour your tessellation. You can also cut the circular tessellation out and glue it on a new piece of paper.


See this Sculpin sculpture and many more artworks in the travelling exhibition, Nakatamaakewin: Bringing art to you! Presented by Manitoba’s Credit Unions, in partnership with the Winnipeg Art Gallery and Manitoba 150.
See this Sculpin sculpture and many more artworks in the travelling exhibition, Nakatamaakewin: Bringing art to you! Presented by Manitoba’s Credit Unions, in partnership with the Winnipeg Art Gallery and Manitoba 150.
To plan your visit, check out wag.ca/visit.
